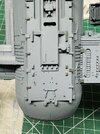
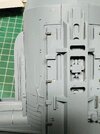
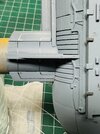
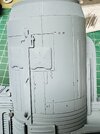
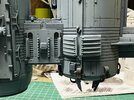
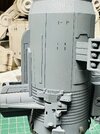
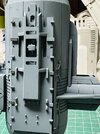
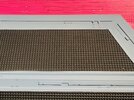
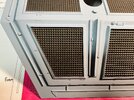
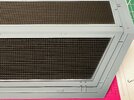
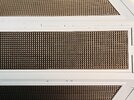
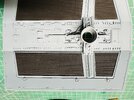
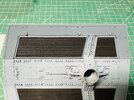
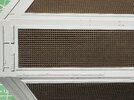
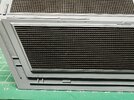
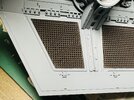
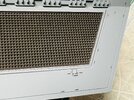
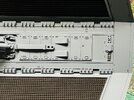
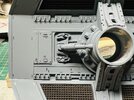
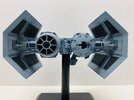
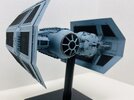
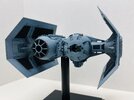
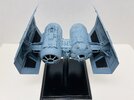
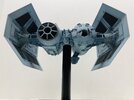
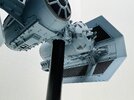
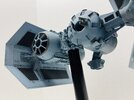
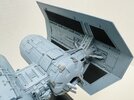
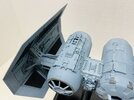
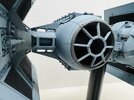
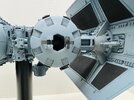
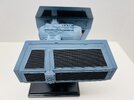
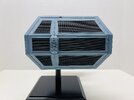
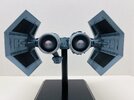
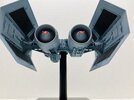
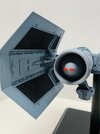
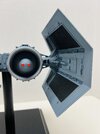
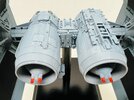
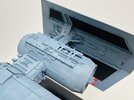
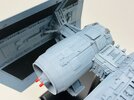
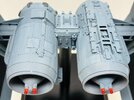
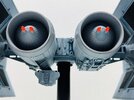
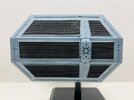
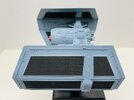
Time for another update. Lots of small incremental steps as I wait to get my hands on an armature as I’m not well-equipped to machine one myself. Lets’s jump in!
What better place to start than the fuselage bodies?
I don’t have a lathe. I considered sending the bodies out to have them precision machined, but decided I’d have a go at cutting the 12 grooves to make the 11 “ribs” that go around the fuselages. Worst case is a botch them up and just have a set made for me later.
I started by measuring .375” from the front end of the 2” OD Plastruct tube and marking that with a parallel scriber. I then placed dymo tape right up against that line to create a straight edge for scribing.
View attachment 1837101
I then used my old Tamiya scriber and carefully went around the tube. Once I’d made 3-4 passes, I removed the Dymo tape and finished widening the line until it was close to the proper measurement (around .6 mm). I then added that line width and the rib width to the parallel scriber and scribed the next guide line. More dymo tape, more scribing. Repeat.
View attachment 1837102
Eventually got them all done. Cut the tube to length, then repeated it all again for the other tube. Measurements all came out super close to correct, and while it’s not 100% accurate, I think it’s certainly good enough to pass!
View attachment 1837103
Next I measured out the center lines and figured out where the holes for the main support tubes had to go. Drilled those out using a step drill bit. Keeping all of that centered properly was a chore, but I consoled myself that once I have a center block of something is slight off I’ll have room to adjust.
Threw the bodies on the tube — I’m pretty happy with how they turned out!
View attachment 1837104
View attachment 1837105
Next up, the cockpit dome. I had a pair of VHH-200VG domes, so first thing was to cut them down to size. As others have done, one of the easiest ways to get the height to be consistent is to cut it off on a drill press with a cutting wheel.
View attachment 1837077
Now that the height is close, I snuck up on it using some sandpaper until it looked just right. I wanted the inner lip of the Vader cockpit window to sit inside of the dome, so I also cut/sanded that until it fit right in, nice and flush.
View attachment 1837078
View attachment 1837080
With that done, I needed to scribe the vertical lines coming off of the vertices of the cockpit window. This was a bit challenging, as the spacing is NOT equidistant between the spokes around the edge of the window. So, I made indicator marks to align the window to keep it straight.
Taking a page out of
Boxcar Bret ’s build, I made a jig to sit the dome into so that I could get some straight, vertical lines.
View attachment 1837086
Once the lines were drawn, I applied dymo tape to the line and started scribing.
View attachment 1837087
View attachment 1837088
Welp, that didn’t actually work out how I wanted. Because of the curvature of the dome, as soon as you stuck down the dymo tape, it started to curve to one side, resulting in a line that veered one way or the other off-center. This wasn’t good.
At this point I also noticed that the height was also off. I had a small lip around the outside edge of the cockpit window, and per the reference, that should come up right under the cockpit. Always check, double-check, and triple-check your references!!! Good thing I had a spare dome!!
View attachment 1837089
View attachment 1837090
Since I’d already messed this one up, I also had a go at doing the horizontal scribing. This was done by using a parallel scriber to mark the locations where the panel lines cross the verticals, then placing dymo tape from one intersection to the other. For these lines you WANT there to be a curve, and the dump tape provides that beautifully. So, a little practice before starting again.
View attachment 1837093
View attachment 1837092
View attachment 1837094
OK, so second go at the cockpit, but proper height this time. Plus I scribed the vertical lines using the jig to keep them straight.
View attachment 1837095
Add the horizontal panels lines as described above, and finally using a pin vise and micro drill bit, add on the rivets.
View attachment 1837096
With the cockpit window attached.
View attachment 1837097
Test fit to the fuselage.
View attachment 1837098
View attachment 1837099
View attachment 1837100
She’s starting to look like a ship!
Next up — bomb chute, wing details, and creating molds.
