Working on
Wait for it...
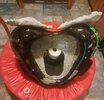
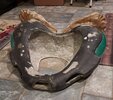
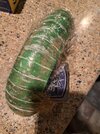
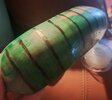
THE COLLAR!!!
I didn't name this piece before, my error.
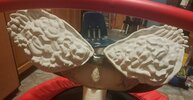
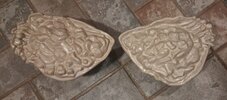
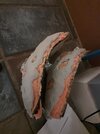
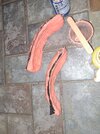
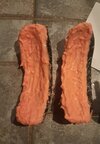
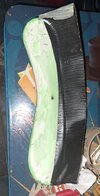
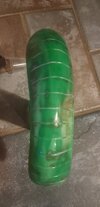
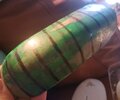
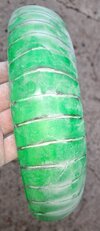
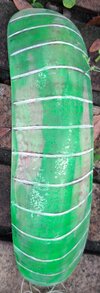
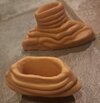
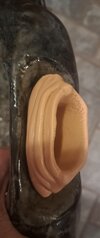
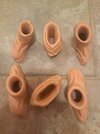
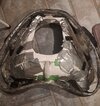
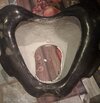
I have many ideas on how to complete this piece. It is a slow process. Cover the bottom area with tape and foil then apply --YOU GUESSED IT!-- Free Form Air. I am making it much deeper than what you see on the reference pics, because it is ribbed, and I am debating how to do the rib part.
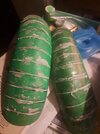
Two gripes about the FreeForm Air stuff. If you mix alot of it, it hardens if not used IMMEDIATELY. So, you end up with hardened nuggets in the center of a glob! So, get gloves, grab equal, workable handfulls of each component, mix, sculpt, then New gloves and repeat. Adding small portions to the collar at a time.
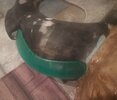
The non-visible portion beneath the FreeForm AIr, the portion that is out of sight, on the inside/bottom, is a mix of tape and foil and paper. I will prolly coat the visible base with some xtc 3D with Aluminum powder when complete. I want the collar to have some strength. I want room for lights in there, just in case I want to.
But this has been a sssllloowww process. If you really want step by step pics, I can provide, but it is like watching paint dry.
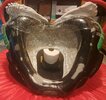
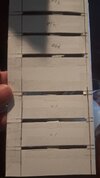
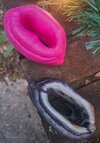
The center hole is where my head is gonna fit. I just used a bunch of pics for reference and made the center hole out of tongue blades and paper, then cut out the center to make sure my head could fit. The center hole is currently flat, but will become more 3D in the future. I marked where the collar will contact my shoulders. To wear this thing for more than a few minutes, I need to make it follow the wearer's body contour, or the pressure point will feel like a Vulcan nerve pinch after wearing it for a few min..
 )
)