Building The ANH 5'Millennium Falcon

Cheers guys!.

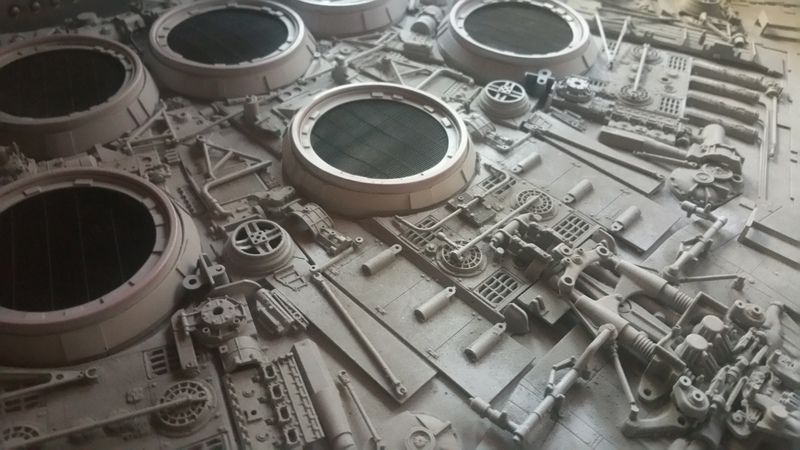
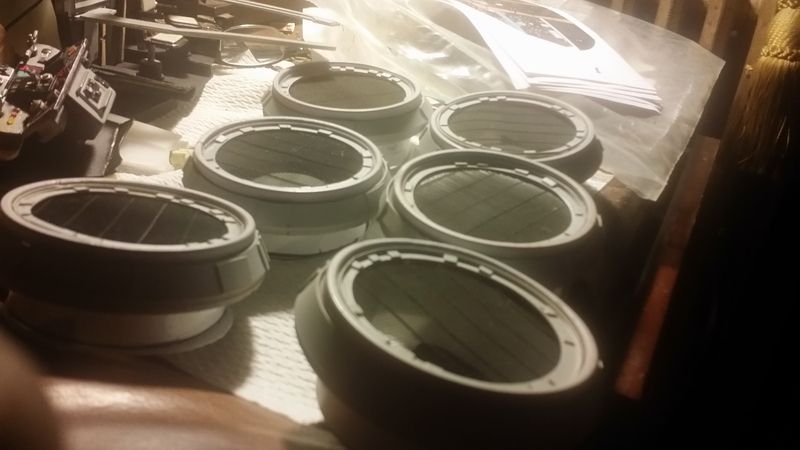
I should point out that I had originally thought of doing the domes as a series of ribs & skinned in styrene with the old pizza wedge method, which works, but decided this would create a headache to get the various pits in situ, especially the big underside pits!. Having the domes as shells means the area underneath is mostly hollow, a part from a rib at the 12, 3, 6 & 9 positions which hold up the quarter domes. I'll decide at the time if further ribs are required, maybe an overkill, but only when the pits are positioned.
 
You're right about the rig: won't move when that plastic sheet will be sucked down to the table:D Great buck btw:thumbsup
 
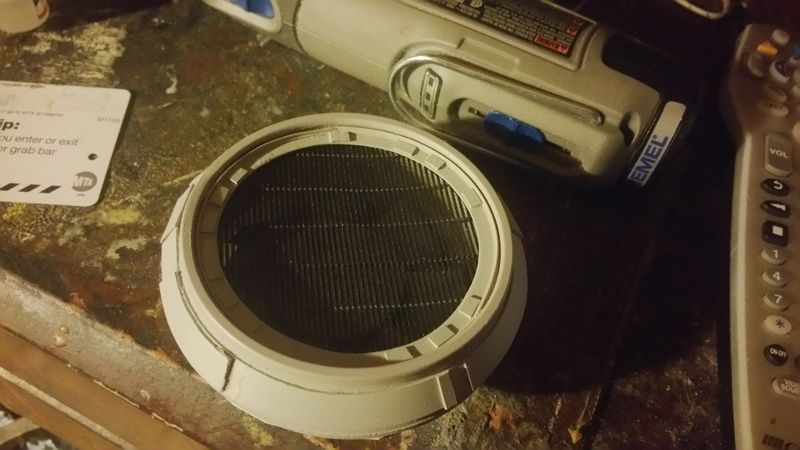
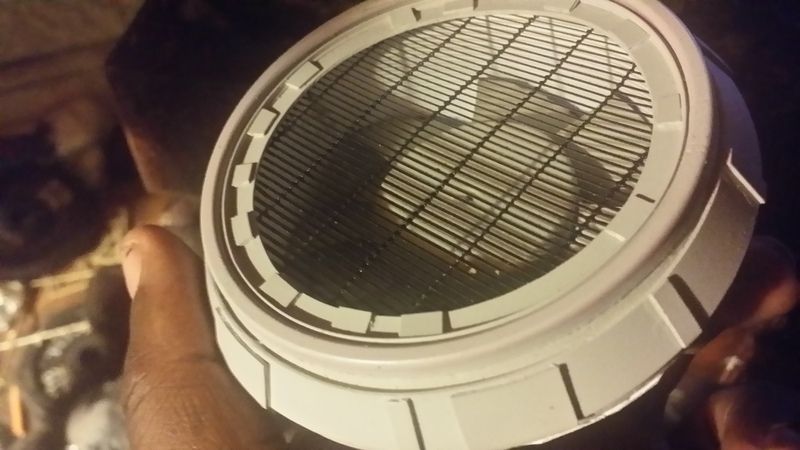
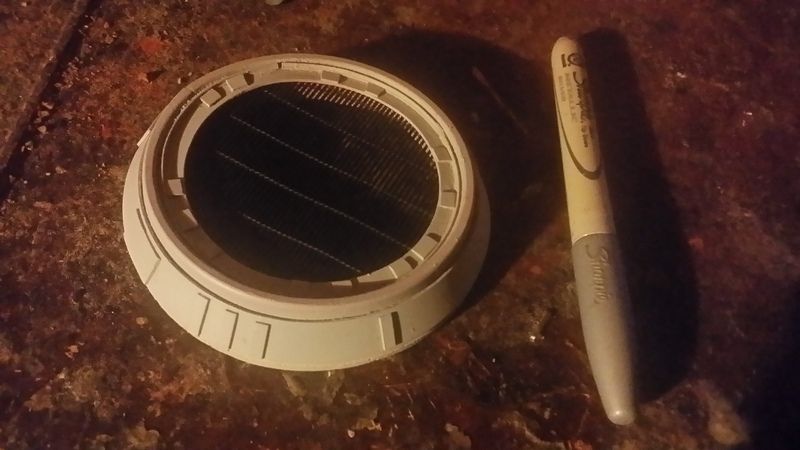
I read your analysis of the access pits,i also did mine separately and joined them later.

A few examples
Worked out well,as they all are practically different depths.
 
Last edited:
That rig is a great idea!! Cant wait to see the pulls! Your bird is coming out exceptionally!BTW I was only able to score the newer cool shade on a trade. Were you able to find the old stuff at all.


Newer shade certainly doesn't have the same 'depth' as the old.
Think it's passable on smaller areas,not sure.
 
Last edited:
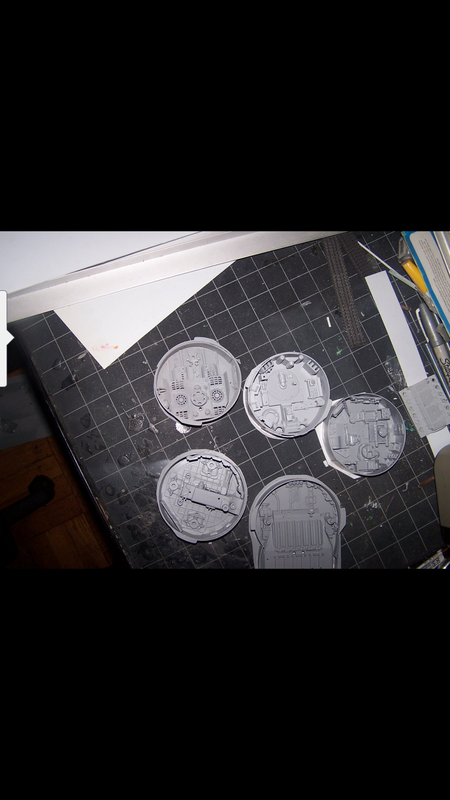
Yeah it just made more sense to construct the mandible pits separately & glue in situ before closing up. I'm sure ILM had the blank pits in place on the original & then detailed them out, but to try & replicate what they did as best as possible, then separately was best practice. Worked out great.

Yes I have the vintage Koolshade, I managed to get a decent sheet a few years back.

Stay tuned for dome pull pics!.

Stu
 
Finally got my domes done!.

Dropbox - 2018-11-02 14.04.31.mp4

Above is a wee video of one being formed.
Dome quarters are oversized to allow trimming to fit precisely. They will be screwed & glued into the core bulkheads.
So glad I went the way of making these as vacformed shells, no problem now of fitting all the various hull pits, especially the 2 big underside pits, those would have been a nightmare to fit in if a rib construction was used!.

Stu
20181109_132002.jpg
2018-11-02 14.31.58.jpg
2018-11-02 14.32.06.jpg
2018-11-02 15.20.58.jpg
 
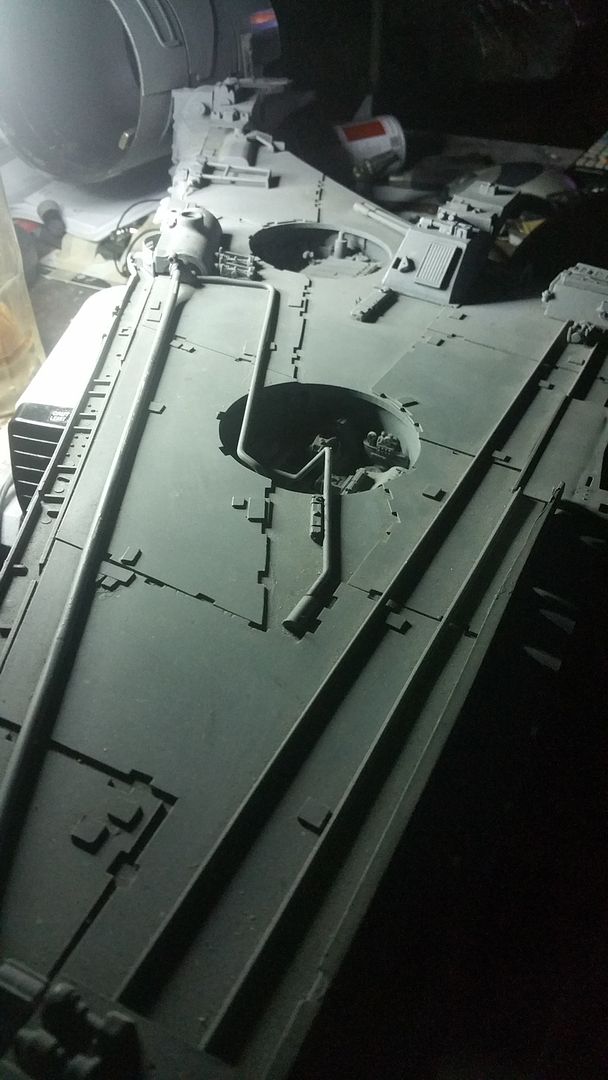
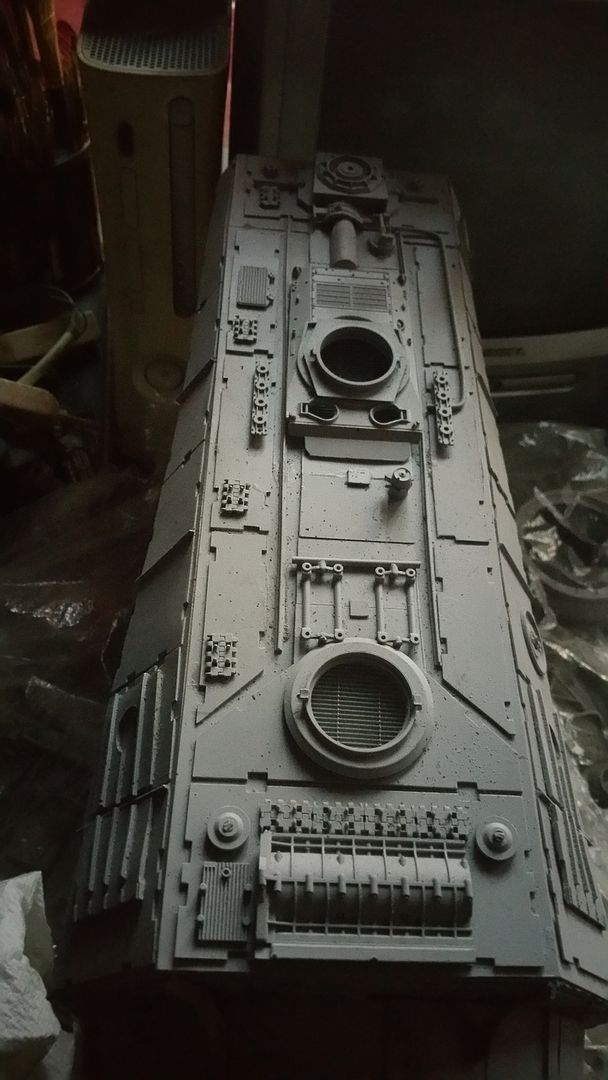
Here is my 'kit' I designed for my hull or 'core' & delivered just before Christmas. All parts are CNC'd from MDF & also had an armature welded up. So over the holiday break I began assembly & am pretty darn happy how it all fits & is taking shape. I applied a light coat of PVA to the sidewalls to seal the MDF for the styrene to attach to securely with CA. It's really hot here last few weeks, so drying time & bonds are real quick!. Next up this week are fitting the ABS dome sections, I say fitting, but won't secure them down until pit positions are finalized & positioned.
 

Attachments

  • 20190102_105832.jpg
    20190102_105832.jpg
    1.5 MB · Views: 625
  • 20190101_143103.jpg
    20190101_143103.jpg
    1.6 MB · Views: 635
  • 20190102_105846.jpg
    20190102_105846.jpg
    1.5 MB · Views: 658
  • 20190106_185436.jpg
    20190106_185436.jpg
    1.5 MB · Views: 665
  • 20190108_140341.jpg
    20190108_140341.jpg
    1.2 MB · Views: 672
  • 20181231_125859.jpg
    20181231_125859.jpg
    1.8 MB · Views: 607
  • 20181231_125955.jpg
    20181231_125955.jpg
    1.4 MB · Views: 593
  • 20190110_110651.jpg
    20190110_110651.jpg
    1.1 MB · Views: 616
  • 20190103_124632.jpg
    20190103_124632.jpg
    1.5 MB · Views: 629
  • 20190108_151029.jpg
    20190108_151029.jpg
    1.4 MB · Views: 704
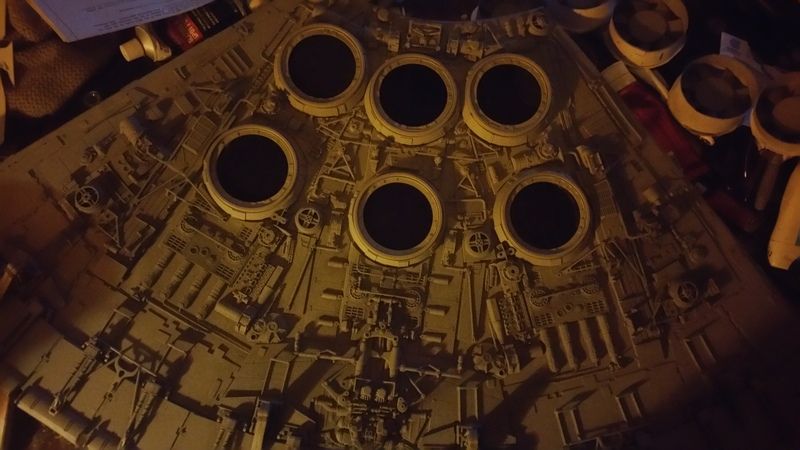
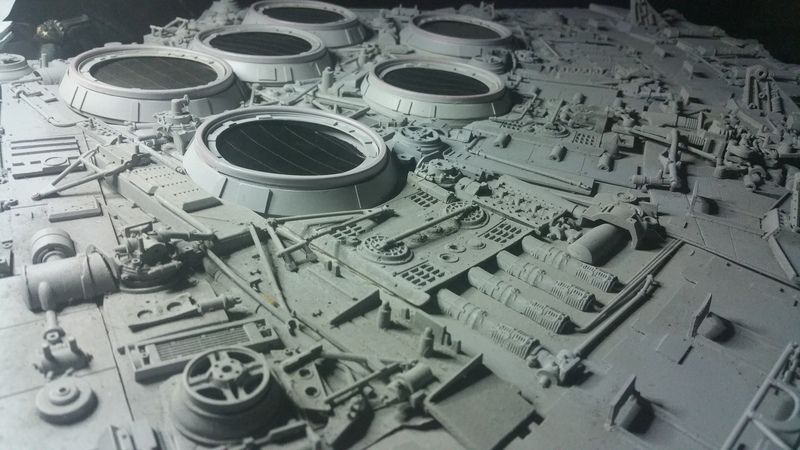
Progress on core/dome assembly. Underside domes all in place, still deciding if I will screw these down as well, the glue seems to be doing the job extremely well!. Very happy how the dome quarters behaved in sitting down nicely to the inner structure & seeing the overhang is amazing!. With the overhang, each underside lip has to be chamfered/routed flat to give a 0.75 - 1mm edge. I do this with a beam sanding powertool & finish up with files.
On to installing the rear engine lighting & diffuser this weekend & finish up the topside dome fitting. Then onto attaching the subassemblies & marking out pit positions & plating...the 'fun' part!.
 

Attachments

  • 20190301_120801.jpg
    20190301_120801.jpg
    2.4 MB · Views: 500
  • 20190301_120727.jpg
    20190301_120727.jpg
    3.3 MB · Views: 564
  • 20190301_120828.jpg
    20190301_120828.jpg
    2.2 MB · Views: 539
  • 20190301_122551.jpg
    20190301_122551.jpg
    3.6 MB · Views: 545
  • 20190210_200927.jpg
    20190210_200927.jpg
    3.3 MB · Views: 536
WOW!!! What an awesome approach Stu!!! Looks very solid and a very smart approach to core construction! You're going to have no doubt an amazing build there!! Keep these awesome updates coming along!!
Sean
 
Really impressive!
I am always amazed when someone takes on the challenge of building the 4 footer Falcon!
 
So when people have a car show and they bring all their old cars and show them off, especially when its the same type car. Like if a bunch of people brought a bunch of deloreans to compare, well, I think there needs to be a 5 footer Millennium Falcon show. Not sure how many people have tackled this big endeavor of a project, but how so cool to see them all together. Just my random thoughts.
 
Well, I think that, so far (if my memory serves me well) 3 people have/are building the 5 footer. Would be fun to do a comparo between each.:)
 
Cheers guys, much appreciated & yes I will endeavor to post updates more frequently.
So one remaining dome quarter to put on this week. I left it off until the lighting was sorted. A simple affair with a LED light strip for the engine glow & hooked up to a 12v rechargeable battery. Got the diffuser strip now & the lights look great behind this. After the final dome is down permanently, its onto cleaning up the excess ABS edges I left longer than they should be, this was planned to allow for marking out the dome to mandible cut offs & the engine deck placement etc.. .
Then placing out & marking the subassemblies & pit positions.
Still get goosebumps seeing this thing every day, loving this build!
20190310_174815.jpg
20190310_174905.jpg
20190311_132845.jpg
 
I have goosebumps looking at it too! I'm thrilled for you Stu! It looks fantastic and you are seeing all the years of hard work come to fruition.
 
Back
Top