I'm guessing Paul Huston's hair, given the length.
Well, I know I won't be pulling any hair out of my head to replicate that...

I'm guessing Paul Huston's hair, given the length.

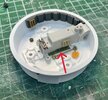
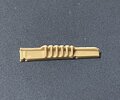
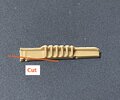
I need to finish this one. This pic might be my inspiration.This is where I am with my Saturn V pit. Still missing some parts (they're sitting at post offices), so I'm a bit bogged down. Still, I feel I got the height and position of the Kettenkrad part pretty close. It sits at the correct height, and all the under laying Saturn V parts are where they should be. The thing I noticed with this is that the Kettenkrad bit is not 100% straight down the centre of the Saturn V part. When you cut the notch out of the Saturn V, there's more left over on one side than the other. It's offset ever so slightly.
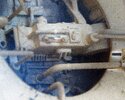
The little notch in the back of the Kettenkrad part is a bit to shallow too (it should overlap the Hanomag strip, but not touch it), but I can fix that easily enough once I start final assembly.
View attachment 1881443