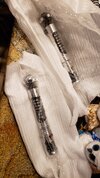
In this new propstore pic it looks like there is a little chip wedge under the emitter attaching to the black emitter section. Maybe a custom little chip like that would hold it in place?Follow-up.
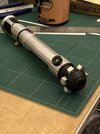
I filled the grub screw’s female alignment holes in the cubes with a good drop of Gel (control) loctite each and now they won’t budge! (Yay) I’d recommend using that hole instead of trying to douse the male threads in the pommel.
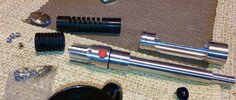
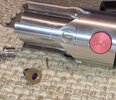
Also pushed the purple rivet into position and filled the underside with the same gel glue and threaded on the lower set screw to make a complete assembly. Holds great and is a solid unit now.
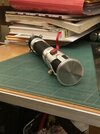
I opened the legs of the LEDs so they act as a bit of a spring contact inside the bezel and then glued the underside, and cut the excess legs off.
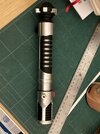
Besides the little bit of wobble in the shroud (I’m sure comes from using the tilted emitter base) the whole thing feels solid!
Really beautiful

")