Hello friends.
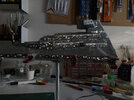
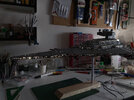
Immersed in painting work right now.
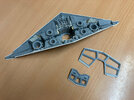
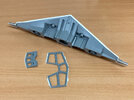
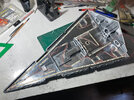
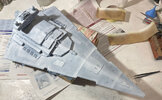
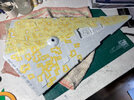
I primed all the pieces with black Fine Primer spray from AK Interactive. This is not the first time I have used this product and it has always given me good results. To give it a but, maybe it leaves a little texture when it dries.
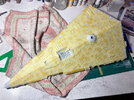
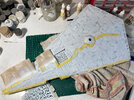
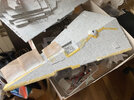
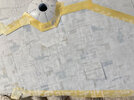
Next, I started airbrushing the fuselage. For this I used 3gen acrylic paint, also from AK Interactive. I bought the color Insignia White AK11868 and also its thinner, but I have to confess that both products disappointed me. The paint color is not at all similar to the famous Tamiya AS-20. And its covering power also seemed quite poor to me. But the thinner is even worse. It is somewhat thick and oily. And also, it doesn't dilute this paint well. It leaves small lumps that can clog your airbrush and ruin the finish of the model. However, water dilutes it perfectly.
So, after doing some testing, I decided to make my own thinner as explained in some YouTube videos: 70% distilled water, 30% isopropyl alcohol (IPA) and a few drops of liquid glycerin to improve flow. This thinner has worked much better than the one I had purchased and is much cheaper.
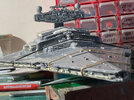
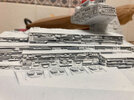
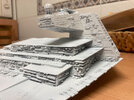
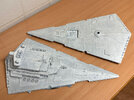
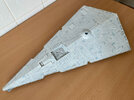
Although the color was not what I expected, I decided to continue using it because it is a cold white color that I think is suitable for an empire ship. Its low covering power turned out to be an advantage in this case because it helped me create volumes and panel separation. Having to do it in so many layers, it was quite easy to control the final finish. I took advantage of the most prominent volumes and panel lines of the model to highlight them by applying more paint to lighten them and create separations only using the intensity of the color. The result is thus much richer and more convincing than if I had painted everything homogeneously.
View attachment 1812550 View attachment 1812551 View attachment 1812552
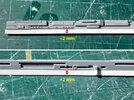
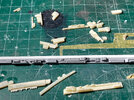
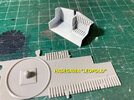
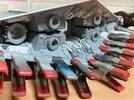
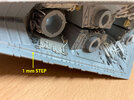
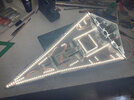
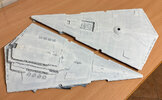
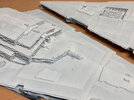
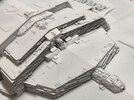
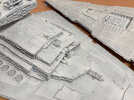
Now that everything is covered in paint, I really like how well the parts that I added to the model fit together. The details of the side areas, being copies of the original pieces, maintain a uniform and coherent appearance. And the areas I placed to increase the height of the neck of the bridge also integrate very well without giving away that they are added “patches.”
View attachment 1812553 View attachment 1812554 View attachment 1812555
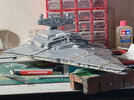
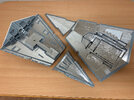
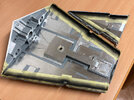
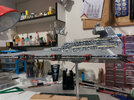
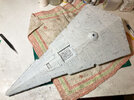
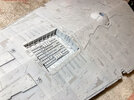
Over the previous finish, I applied a few thin layers of Marabú brand glossy spray varnish to seal it well. And then I did some very light washes using black oil paint very dissolved in a quality Talens brand thinner.
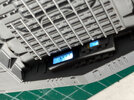
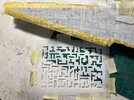
I still have to clean it up a little more, but I'm pretty happy with the result. Despite being so light, I think it has accentuated the details and lines enough to achieve more realism. If you look closely, you will see that I have not yet applied washes to either the bridge or the lower bays. In these areas you can see the difference between before and after washing.
View attachment 1812556 View attachment 1812557
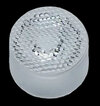
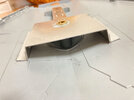
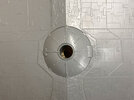
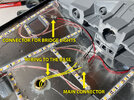
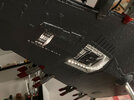
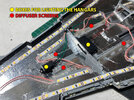
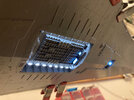
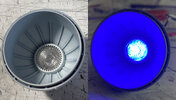
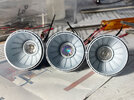
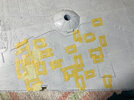
To finish for today, the lenses I had bought online finally arrived. They fit perfectly into the main engine bell holes, but I'm still debating whether to use these lenses or one of the acrylic “diamonds” I already had. I have three options. What do you think?
View attachment 1812558 View attachment 1812559
Thanks for watching.
Rafa

