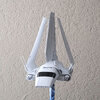
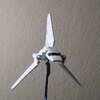
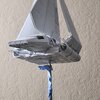
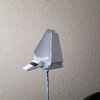
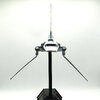
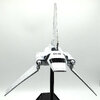
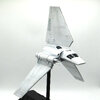
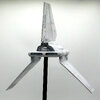
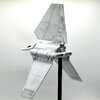
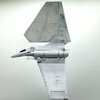
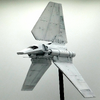
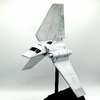
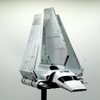
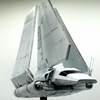
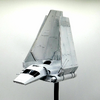
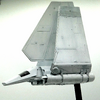
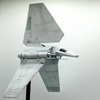
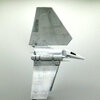
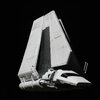
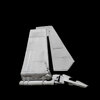
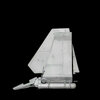
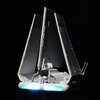
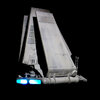
Correcting the Revell and Jazware's Micro Galaxy Squadron Imperial Shuttle proportions

The Empire thanks you for your dedication and service to their ships.

I know, pain in the butt to have to redo something over and over. But you'll get it and be thankful.
I've learned, sometimes you can use some white glue (Elmers) or tacky glue, or something thats not quite as strong but will hold it to get it set in place, then, later on, if I know its for sure good, then try and get some super glue on an area that should hold it together.
Won't work with all parts of course, but can help.
An example. Gluing the top and bottom of the Falcon I'm working on. I knew that trying to put super glue on all the pegs, edges and areas that needed to be glued, lined it all up before it dries to much, or I end up misaligning something and then having to rip it all back apart....and getting super glue all over my hands. You can see this type of thing has happened plenty times.
So using the tacky glue, which takes way longer to dry, gave me the time to make sure everything was lined up best I could get it, let it dry, and then add some super glue in the holes from the side docking area since that piece went on later.
Wow, that's a fantastic idea, can't believe I never thought of that before, thanks mate! That would've helped so much in this situation, but going forward I will definitely use that method. Going run to the store today and get some Elmer's or tacky glue asap.
 
Wow, that's a fantastic idea, can't believe I never thought of that before, thanks mate! That would've helped so much in this situation, but going forward I will definitely use that method. Going run to the store today and get some Elmer's or tacky glue asap.
Yeah, hope it definitely helps out.
Three years ago I made an Agents of Shield logo out of styrene. The main pieces were painted with chrome paint where even after dried, a tap still left a fingerprint. Using super glue to try and align all the pieces ended up a disaster. Had to pop every single one off the back piece and recut them all and try again. Thats where I realized using any glue that dries slower will give me more time to work.
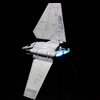
 
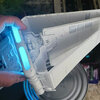
On a somewhat brighter note, I Dremeled out the back of the engines as I'm toying with the idea of lighting it...

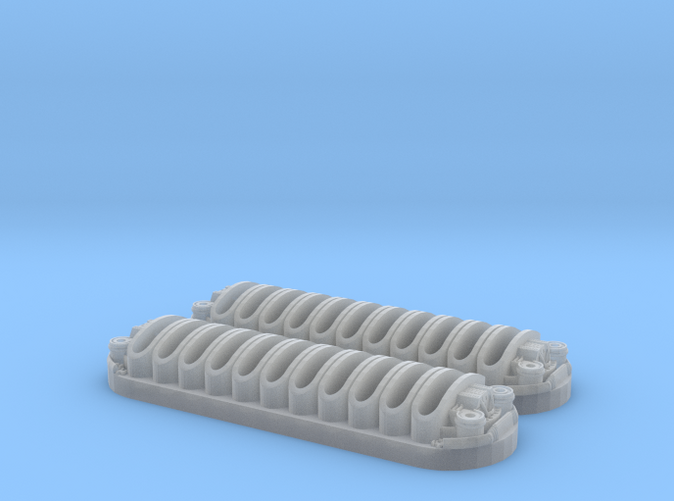
There are some 3D prints for the Shuttle engines available from Shapeways. These will look good, especially for a parked shuttle unless you are going for the featureless super bright engine look

and the shapeways material (at least the ones I got) are translucent so you could skip painting them so they glow more

You can check the material options and one is for Clear Ultra Fine detail

Very nice. I'm still debating what route I'll go. Those appear to be for the bigger MPC version, although I could find a way to get them printed for the smaller scale Revell.


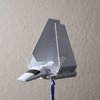
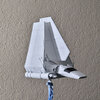
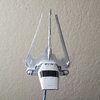
I think I can finally see the end. It sure isn't the prettiest model I've built (I can see so many flaws), but I've learned lots and have made plenty of mistakes during this mod, but I do think it's an improvement over the stock kit.

Updates:

- Added the white main coat
- added more details around the neck which I still need to refine
- waiting on some pieces to arrive for the engines. Once I've figured it out I need to fill out the seam where back engine connects to the body.
- added more details where the main dorsal connects to the body
- added putty to the back of bottom fins as there were some noticable seams where I Dremeled it. I'll need to sand that smooth once it's dry tomorrow as it looks a little rough.
- next to figure out a way to lightly weather this, it's so subtle in the reference photos.
- need to paint that black vent above the body
Edit: I also forgot I tried make those 2 intake vents on either side of the body thinner as the walls were pretty thick and toy like.

20230615_223358.jpg20230615_223322_1.jpg20230615_223344_1_1.jpg20230615_223230_1.jpg20230615_222713.jpg20230615_222626.jpg20230615_222528.jpg
 
Last edited:
I think it looks really good. Of course when you are the one who worked on it, you will always see the imperfections.
Knowing that you started with a very inaccurate model anyways, looks a lot better for sure.
Now hurry up, filming starts next Monday.
 
I think it looks really good. Of course when you are the one who worked on it, you will always see the imperfections.
Knowing that you started with a very inaccurate model anyways, looks a lot better for sure.
Now hurry up, filming starts next Monday.
Haha thank you! Really appreciate it. Can't wait to finish it up, it's on my bucket list for awhile :)
'You've done well, Lord Jusdrewit!'

View attachment 1710890

;)

Chaïm
Thanks again mate, your pics/references were invaluable. She may not look like much but hopefully she's got it where it counts! I'm sure one day I'll splurge on a really nice shuttle kit, but until then, this will have to suffice :)

Hopefully I can cross this one of the list this weekend, and take nicer photos than my cell.
 
Going through my closet, look what I found. I knew it was somewhere in there, but in a different spot than I had thought.
Parents bought this, now just over 40 years ago for $3.50 and gave to me.
For as many times as I've had to move, its amazing its in this good a condition.
20230620_191517.jpg


In 1995, I wanted to build the shuttle. I had these next pics and pausing the VHS tape to go by. (First page had the scene in the movie of the shuttle leaving the star destroyer, but its really tiny)
20230620_191607.jpg

20230620_191620.jpg

20230620_191652.jpg

I believe I really used these more than the VHS tape.
 
These pics on my computer.
Here we have my own custom made shuttle from cardboard and mostly covered in regular old paper glued on. Most everything was just taped together. Theres also my star destroyer and my brothers little one.
CardboardDestroyer02.jpg

I never truly finished the shuttle, but I did spray it gray.
I even made the wings fold up.
Not too bad using mostly those 4 pics from the magazine, and being in 7th grade.
P1012145.jpg
 
These pics on my computer.
Here we have my own custom made shuttle from cardboard and mostly covered in regular old paper glued on. Most everything was just taped together. Theres also my star destroyer and my brothers little one.
View attachment 1712203
I never truly finished the shuttle, but I did spray it gray.
I even made the wings fold up.
Not too bad using mostly those 4 pics from the magazine, and being in 7th grade.
View attachment 1712204

Nice work! Love the old pics. I don't believe I ever made one when I was younger, just the larger MPC.

Updates: sadly not much. I've realized that it was going to be too hard to install the lighting with the ship almost all sealed up, so I bit the bullet and dremeled out a good portion of the bottom hull which I will cover cleanly with styrene sheets when done. Since I have access to the inside of the main hull, I took the time to paint it pitch black and eliminate any light leaks. There were plenty where the hinges on the wings are, so I've added styrene walls inside which should block any light and added putty to also help.

Next (hopefully tonight), I will figure out the easiest way to rig up the lighting that looks semi decent. After that I need to seal her up again and get to the weather/finishing details. Whew!
 
Thanks jusdrewit ... I enhanced these 2 diagrams so you can check your wonderful work in progress :

View attachment 1708362

View attachment 1708363

JediMichael ... the only manufacturers that got it 'right' were Anigrand, F-Toys and Hallmark in different scales ... here are some pictures :

View attachment 1708378

View attachment 1708379

View attachment 1708380

View attachment 1708381

View attachment 1708382

View attachment 1708383

View attachment 1708384

View attachment 1708385

As you can see the Hallmark's Imperial Shuttle has lights and it plays the 'Imperial March' from Return of the Jedi ... it's a lovely X-mas ornament ;)

Chaïm
Such a cool ship design. Whatever model kit I had of this as a kid, it was a poor design. The 2 halves were warped or something and it wouldn't go or stay together. I built a decent amount of models as a kid and I remember the imperial shuttle was my worst kit experience. But I was maybe 10.
 
Such a cool ship design. Whatever model kit I had of this as a kid, it was a poor design. The 2 halves were warped or something and it wouldn't go or stay together. I built a decent amount of models as a kid and I remember the imperial shuttle was my worst kit experience. But I was maybe 10.
Sounds like the MPC kit.
It has its issues and even building as is, can take some work to get together correctly. Lot of filler and sanding. Then theres these crazy people that modify them....like this Revell kit. :p
 
Sounds like the MPC kit.
It has its issues and even building as is, can take some work to get together correctly. Lot of filler and sanding. Then theres these crazy people that modify them....like this Revell kit. :p
Haha so crazy, can't believe I'm doing this lol

Few more updates:

- Think I finally got rid of most of the light leaks. If i had known i was going to light this when I started i would've done it at the start lol
I essentially added styrene walls around the wing hinges as there was tons of leak there there. Then i had to wall it off next to the engines, then added Apoxie + black paint. Gonna test fit everything tonight before i seal her up again.

20230622_065118_1_1.jpg
 
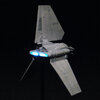
Well, she's not pretty, but perhaps she's got it where it counts. I think I'm 98% done. One day I might completely scratch build the 2 side wings from scratch and I also want to swap the lights from using an electrical outlet to batteries. But I think I'm burnt out lol time for a little break before the next project! Thanks to everyone for the advice, tips, reference, schematics, suggestions etc, it was really invaluable. Here she is!

1.JPG2.JPG3.JPG4.JPG5.JPG6.JPG7.JPG8.JPG10.png11.png12.png13.png14.png15.png16.png17.png17a.JPG18.JPG19.JPGDSCN1043_1_1_1.JPGDSCN1052_1.JPGDSCN1053_1.JPGDSCN1054_1.JPGDSCN1055_1_1.JPG

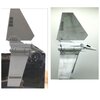
Lastly that comparison of where I started to where it ended:
1687885963275.jpg
 
That actually turned out really great. The comparison picture. If we didn't know it was the same model just fixed up, wouldn't believe it was the same one.
Of course you will ALWAYS know and see the imperfections being the one who worked on it, while no one else will.
The curse of an artist.
 
Back
Top