NathansPROPS
Well-Known Member
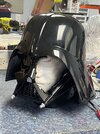
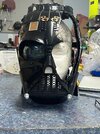
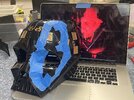
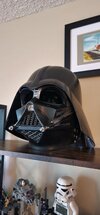
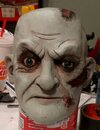
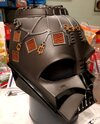
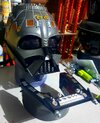
I went ahead and pre-ordered the new helmet. Wish they would just make the helmet right in the first place. I just started to turn my extra Black series helmet into the damaged vader helmet. Ever since I saw that last Kenobi episode, I was really tempted to try doing it. Its looking really good so far to me.
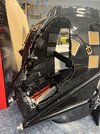
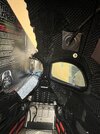
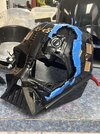
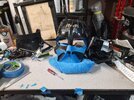
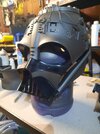
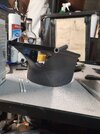
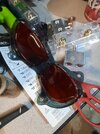
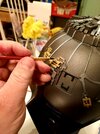
As for the damaged spot I used blue painters tape to out line the general shape with the ripped ends of it. since it created a more natural damaged edge look. I was thinking about how to fill the gap and first thought was bondo, but anyone got any better ideas since the damaged side is now being held in place by one screw, I could always re-glue it after I tint the lenses and finish the dome but really open to suggestions. Also the electronics will still work! Made sure not to cut any of those components or the meeting points by accident.

As for the damaged spot I used blue painters tape to out line the general shape with the ripped ends of it. since it created a more natural damaged edge look. I was thinking about how to fill the gap and first thought was bondo, but anyone got any better ideas since the damaged side is now being held in place by one screw, I could always re-glue it after I tint the lenses and finish the dome but really open to suggestions. Also the electronics will still work! Made sure not to cut any of those components or the meeting points by accident.


") )
)