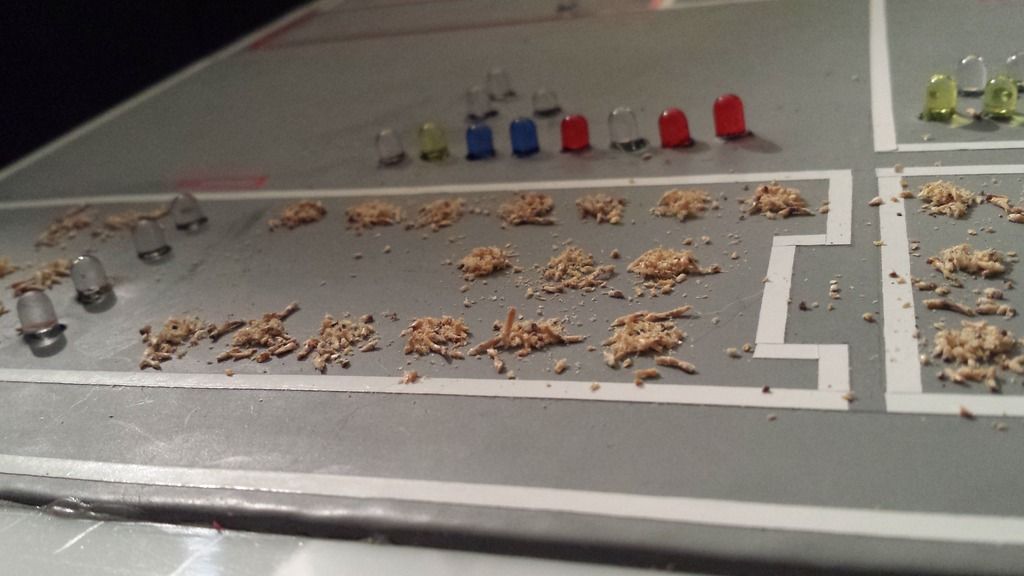
My apologies for going FIVE days without an update. Time got away from me but I have been working hard and have a great post for you today. I had a setback in that I ran out of toggle switches but I’ll get to crafting and crimping more. In the meantime, I went ahead with the build by drilling all the holes and giving them a pop of color with a silver marker.
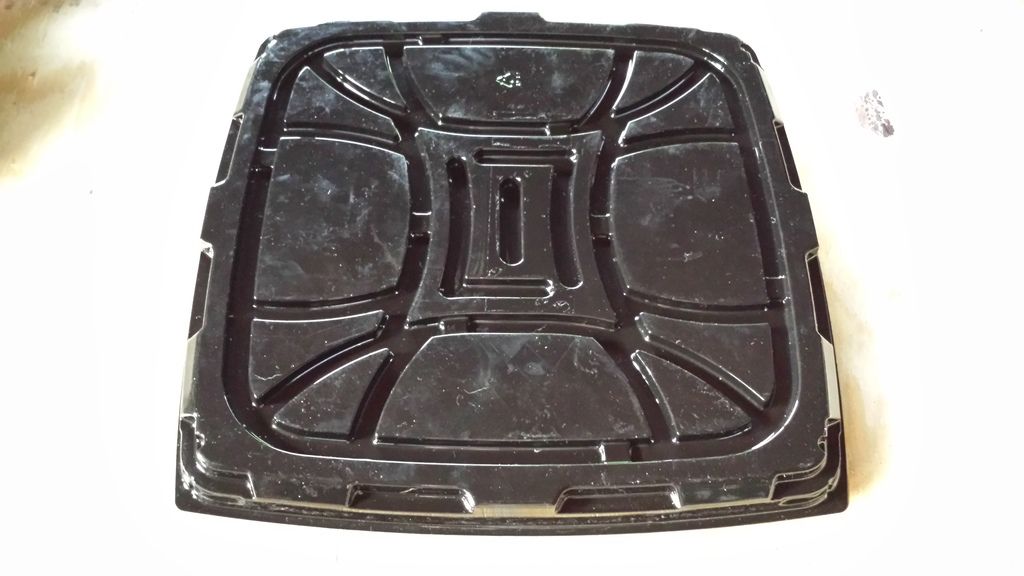
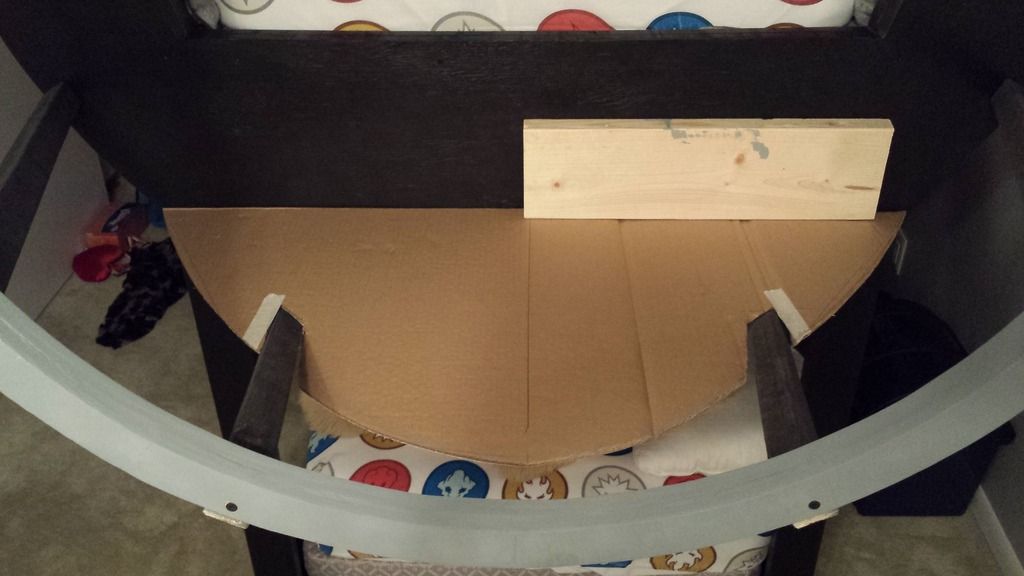
My youngest daughter recently turned one and while grazing a veggie tray, I noticed the base.
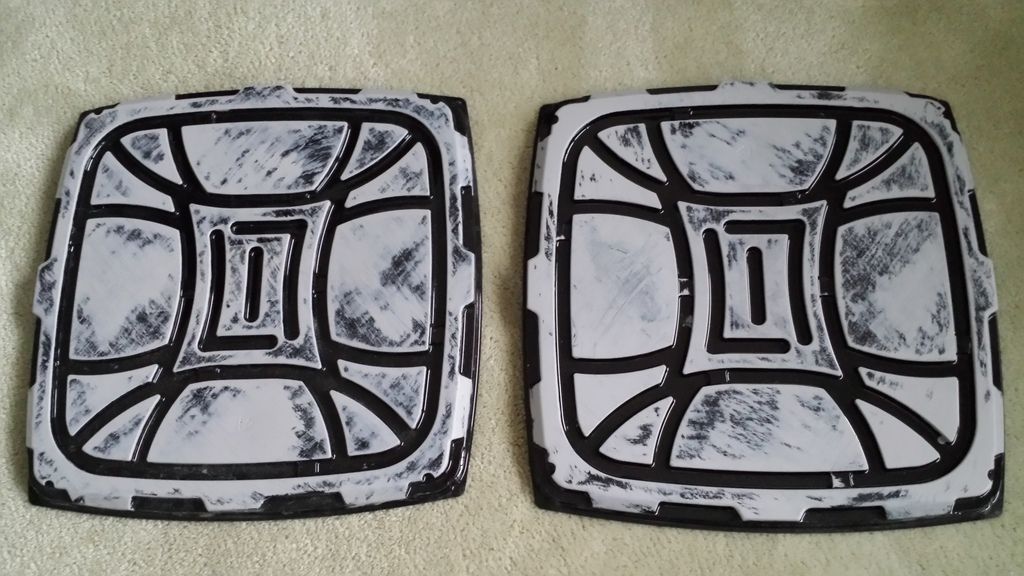
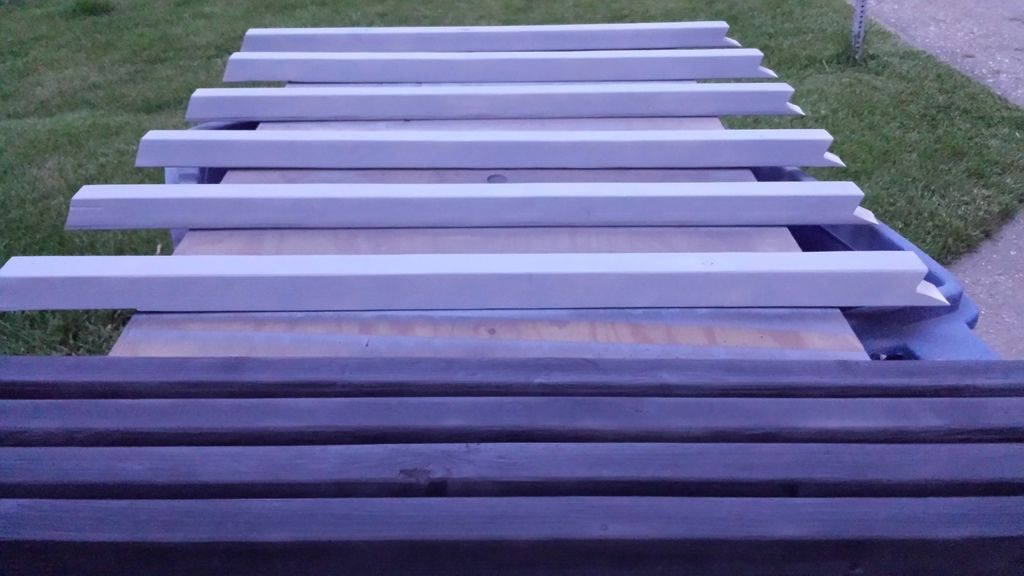
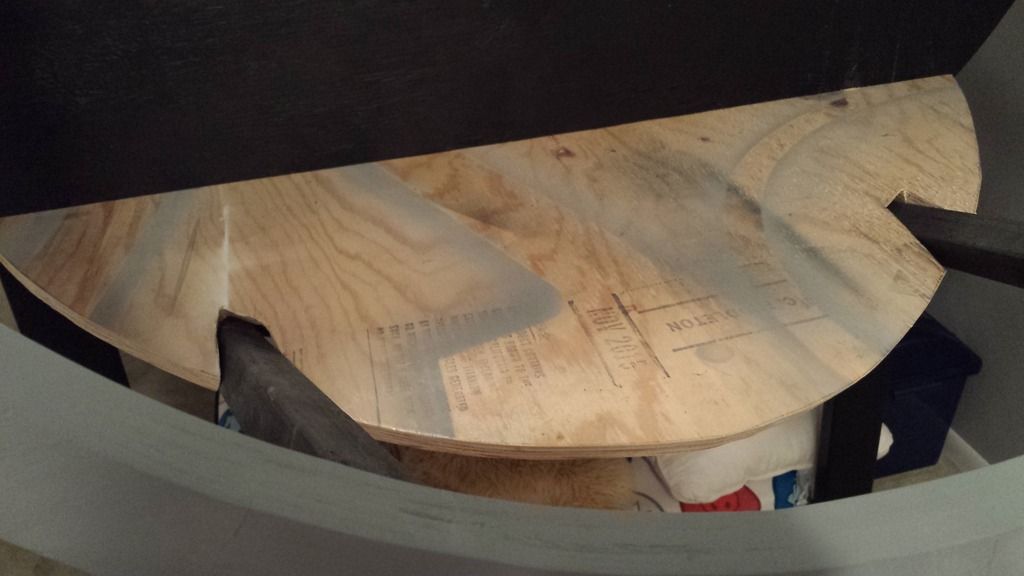
Interesting enough, right? What sealed the deal for me was the fact that it fits almost perfectly on a 14” x 14” panel. I was planning on leaving the top panels blank for headroom but what we lose in space, we make up for in style. After a dry brush of grey, they’re ready in install.
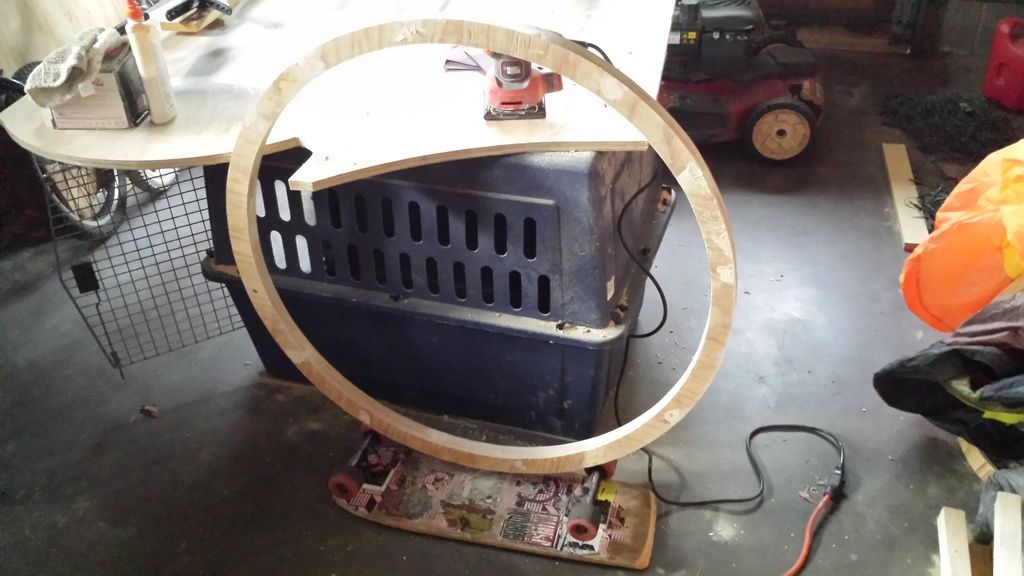
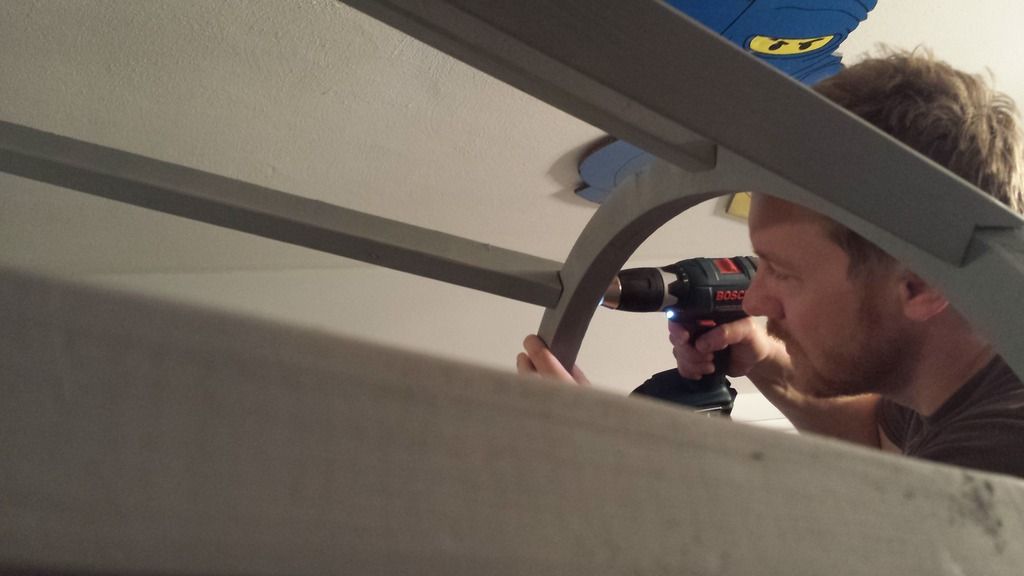
I got back in the garage as well. If you’ll recall, my very first post included a disclaimer about wood working tips, specifically: this ain’t the place to find them. I can’t condone using an upside down skateboard to help with sanding a wooden ring, but I will tell you that it’s totally radical to the max! And yes, the vacant dog kennel is still serving its purpose as well.
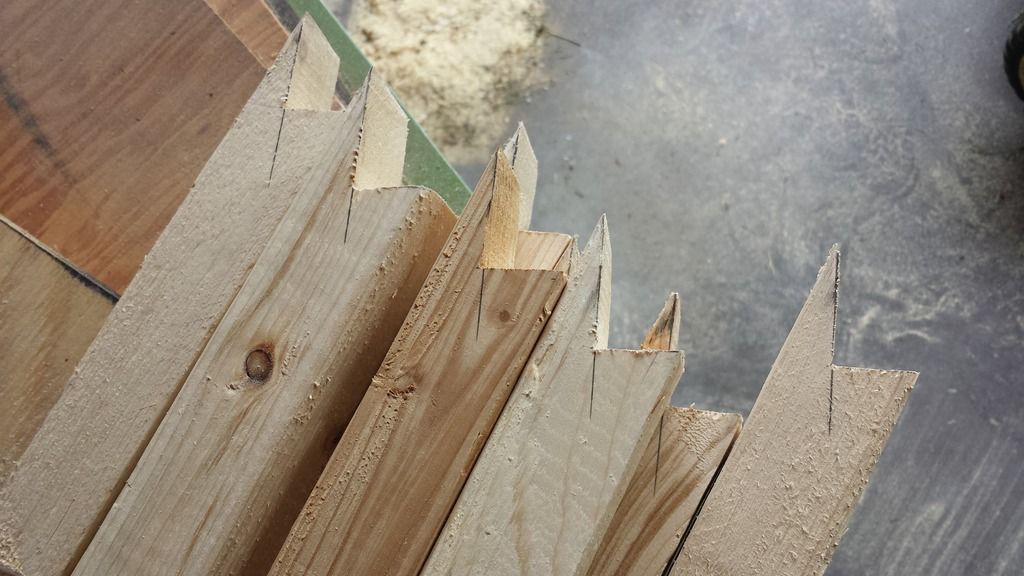
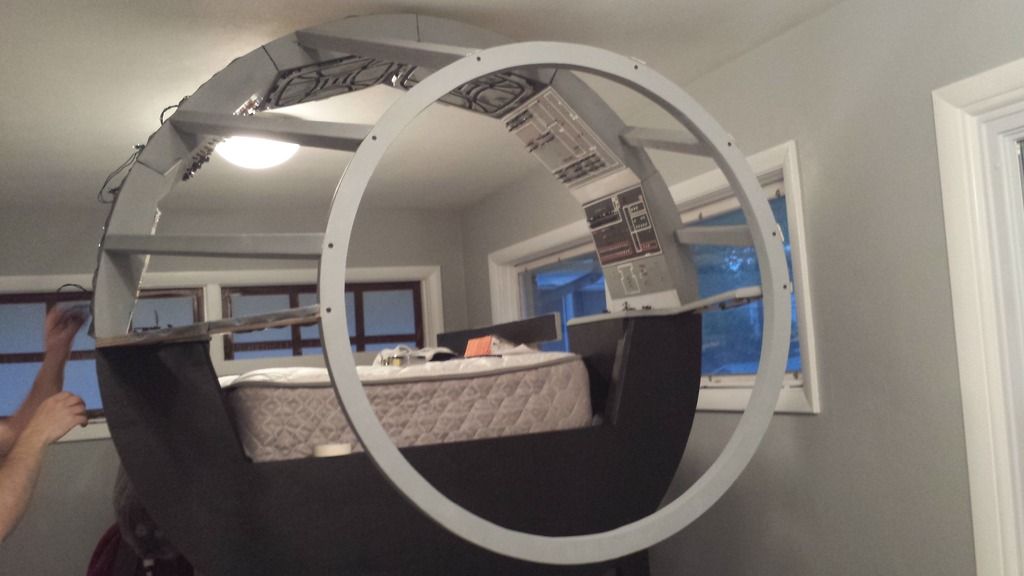
I cut all the spokes of the cockpit. These will attach the panels (and lower bed frame) and the ring in the previous picture. Everything is angles and radii.
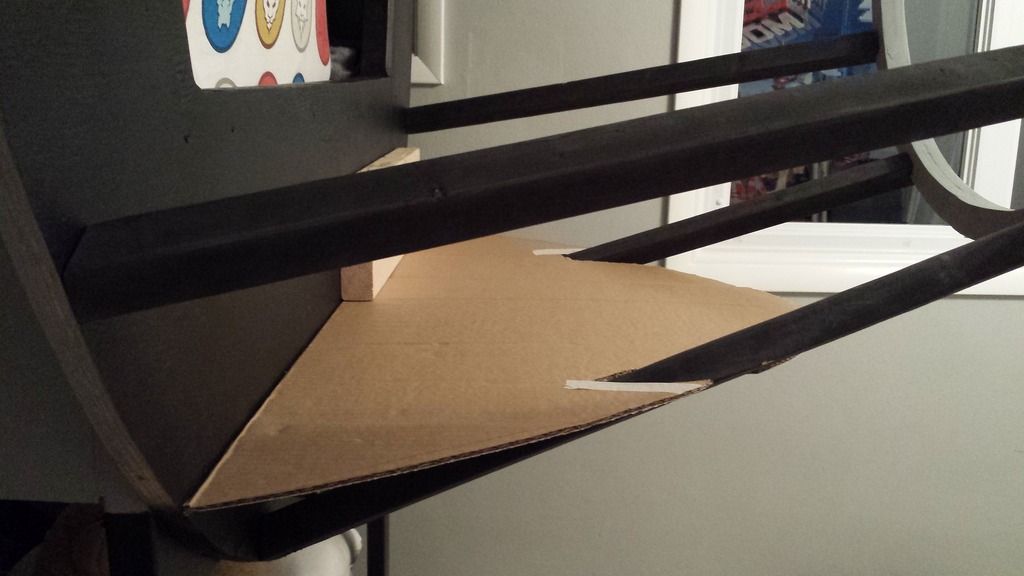
I painted the visible spokes grey and the ones that will be on the lower half are black. I still need to make one more support connecting the floor of the cockpit but I cannot figure out the math on that. :wacko Parabolas are a pain! When I get to that point, I’ll make a cardboard mock up and measure what’s in front of me.
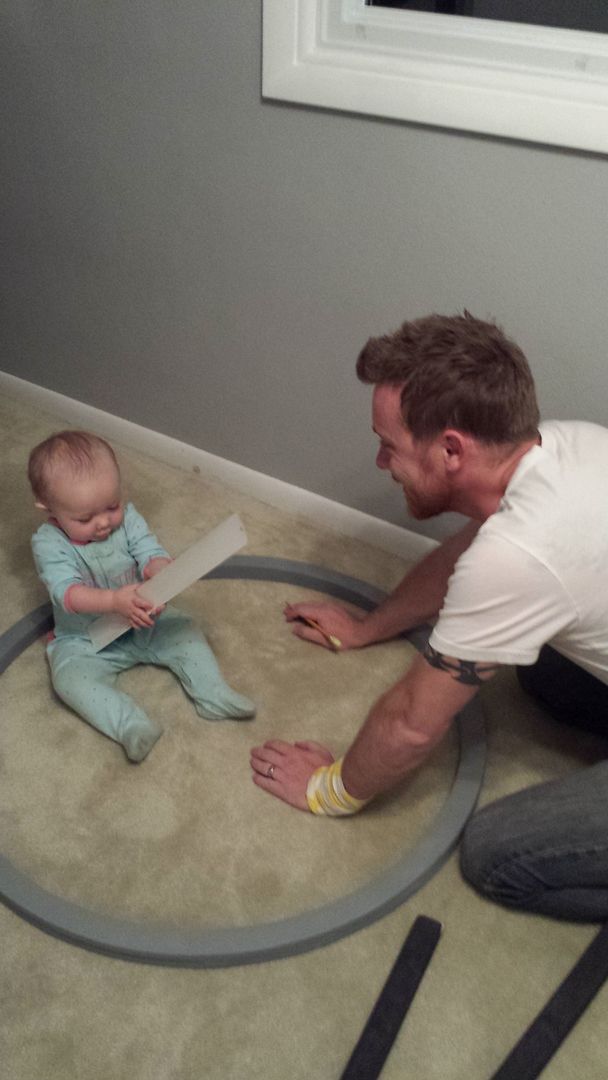
Here’s a bonus shot of the birthday girl helping me measure holes for the ring.
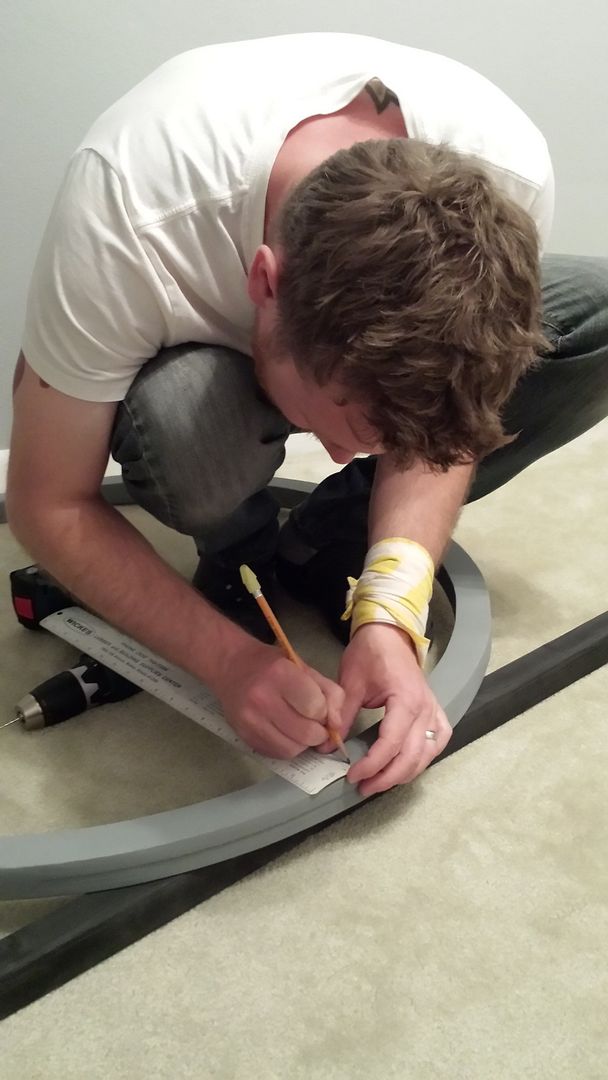
Here’s me double checking her measurements. Sure enough, she was way off. Let this be a lesson: babies are terribly inaccurate.
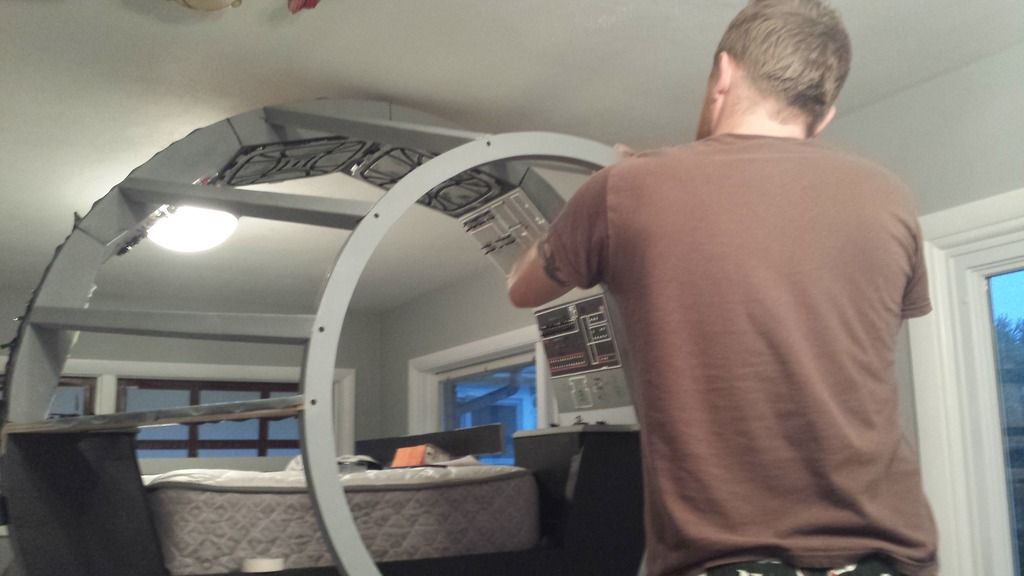
Though the panels are not 100% complete, I couldn’t stand having them lay around one more day. I bolted together and installed them with the help of my lovely wife. “Happy Mother’s Day! - I got you some manual labor.”

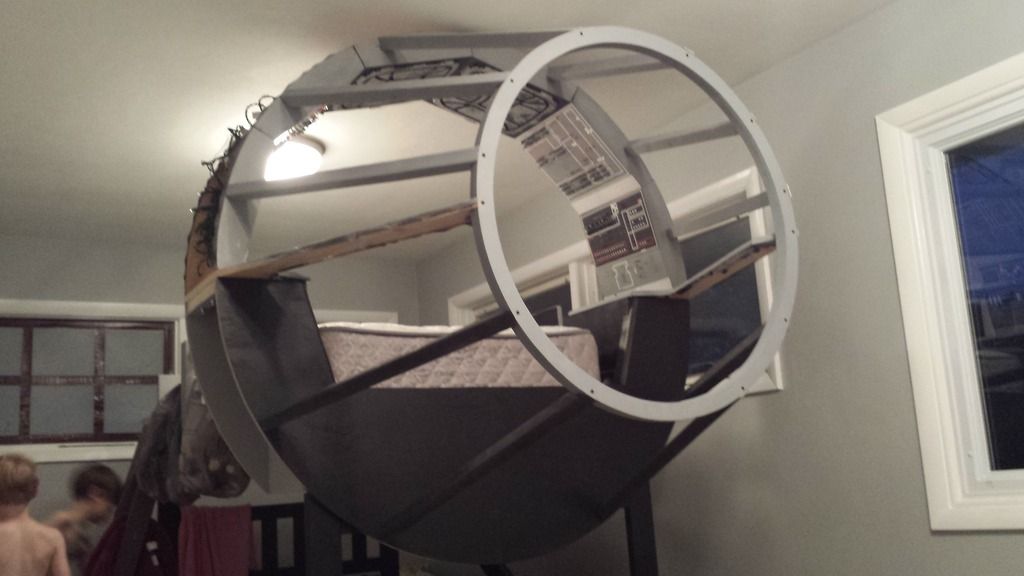
love I’ll have to install the remaining 60+ toggle switches and greeblies in an awkward position but I so badly wanted to get them up there. Isn’t that a thing of beauty?
As I’m writing this, I realize that I didn’t plug it in or try the lights out… what was I thinking??? Knowing my luck, half of them probably don’t work at this point. Regardless, I am having a wonderful time building memories for the family and encourage all those reading to take up arms (so to speak). Build something awesome! And if you can’t do that… build something mediocre! I’ll keep building.