xl97
Master Member
^ I gotta agree here..
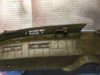
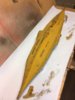
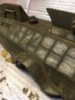
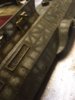
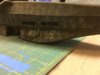
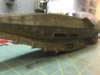
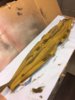
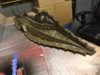
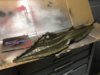
I looked at pic 2 & 3 first... and thought the same thing (what are those dark lines all over?)
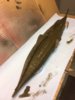
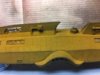
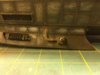
I read the above and then looked at pic #1... (which looked great. btw)
** this is not meant to be mean!!! just distance looking feedback..")
1000% better than I could ever do! lol
I looked at pic 2 & 3 first... and thought the same thing (what are those dark lines all over?)
I read the above and then looked at pic #1... (which looked great. btw)
** this is not meant to be mean!!! just distance looking feedback..
1000% better than I could ever do! lol
Last edited: