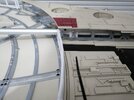
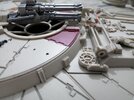
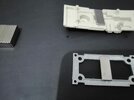
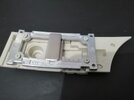
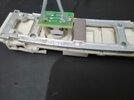
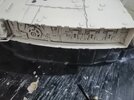
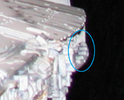
"1/48" Deagostini Millenium Falcon

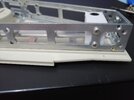
Sag of the mandibles

i have experimented a little to improve the stiffnes of the falcon

shoestring
i tried binding a shoestring to the frame, no mather how hard i pulled tension on the string it got streched more and more, but the mandible ke(e)pt saging

army dog tag chain
to improve the material i tried my old army dog chain, it was better but caused problems, over time the tension of the chain need to be adjusted
another problem was how do i close the saucer
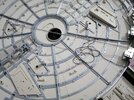
dog.jpg

shimming
super simple the front row of screws have a shim with witch the saging could be adjusted, but caused probelms with gaps between saucer and mandibles

tubeing
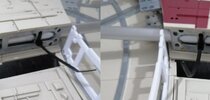
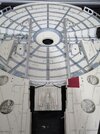
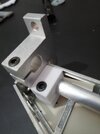
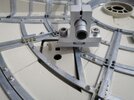
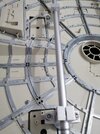
simple, two tubes cut to length and screwed down, the mandibles are not saging anymore, and more important, now u can lift the falcon even by the mandibles. for testing purpose i only secured them with zip ties.
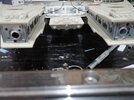
3.jpg4.jpg1.jpg2.jpg5.jpg

i bought two 1m aluminium tubes of 10mm outer diamter and 1mm wall thickness and a tube cutter, all together 20 bucks
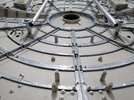
i added M6 screws and off the debris of the aluminium tubes, i cut spacers down, so the tubes get tension by the screws, even when the falcon is flipped up side down, it still works
 
I improved the internal structure one step further

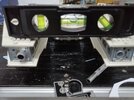
i made similiar to the sk10 shaft blocks and 3d printed those
1.jpg2.jpg
one in the front and one in the rear of the mandible
3.jpg

then i tried to make an interface, where the tube connects with the rear mounting point
4.jpg
exidentaly the forward one, was/is perfectly in place
5.jpg

copied the setup to the other side as well
7.jpg

next step, make a plate, that connects all sk10 blocks together
 
Lee S
Hello,
i saw your upgrade DeAg Thread, maybe you can help me identify those parts, i'm not sure, if i have the correct ones

1 russian tank part, i think its Tamiya 1/35 Su-76 - but everyone else say its Su-85 but i cant find it there
2 Tamiya 1/35 Marder 1A2
3 Sand Colored, probably a German Tank maybe PzKpfw IV the one similiar part, but the crossbrace removed? i thoughed its from the Tamiya 1/12 or 1/20 Tyrrells
4 the "big part" i'm using the Tamiya 1/700 King Georg V(KGV) but i think its to flat, should be something else?
View attachment 1882297
"learnings"

haveing pictures is nice, but holding the sprue in your hand and looking at it at diffrent angles and lights/shadows helps finding parts. if u dot have the sprue, try watching youtube videos about kit reviews or builds

1) the "SU85" part is not a regular kit part, someone said in a youtube video, that it is for the radio controll build to support the axis, from inside. most pictures show only one side of the sprue. its actually not a specific su85 part, but its a regular russian t34 series part, it can be found on all tamiya 1/35 t34(76,85,su85) kits

2) i found those parts by searching for a diffrent part, by looking a youtube video, and i accidentely saw them, they can be found on the tamiya 1/35 m41 walker bulldog

3) sometimes like this/those they are hidden, i accidentely found them on the tamiya 1/35 quad gun tractor, they need to be trimmed or cut to shape. if done carfeully, u can have two out of one piece

4) is a ship part, i'm not sure could be Tamiya 1/700 KGV/PoW or Rodney/Nelson or even a japanese ship - but i dont like the deagostini part, it looks wierd
 
u have to check evil bay every day, like i did, and finaly found the two last missing issues 98 and 99

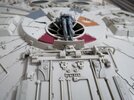
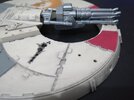
I made some minor changes to the gun convergence point, this is where both guns shooting "down" where they would hit. On the Millenium Falcon its somewhere unlimited or even further.
converse old.jpgcoverse new.jpg

* In front of the top quad gun is some kind of shield sitting and blocking a big part of the forward firing arc, i'm not glueing it on, on some exhibitions pictures its seen broken off.
s1.jpg
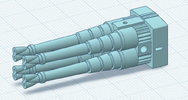
* because of the weight, i wanted to make a lighter quad from resin
s3.jpgs4.png
* but i found a simplier method, by changeing the angle of the hinge mount, by putting a thin sheet of styrene between the cast metal part and the plastic part

* the taiho part also needs to go
s2.jpg

now the guns can shoot all the way down to 10m, similiar to the rotj chase seen, where they(ties) are heading for the medical fregatte
r1.pngr2.pngr3.png
 
i glued on the final parts of the kit
IMG_20250310_132031.jpg

its missing the german flak 38 part and the german tank "cross", i removed(sanded) them from the surface, when i thoughed, i will never get the last issues, also its missing some yamato and 25pdr quad parts

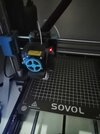
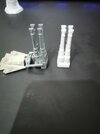
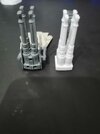
my fdm printer was running out of filament, only a couple meters left on the roll, so i tried to print the quad gun
IMG_20250306_172012.jpg
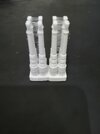
it came out very good only in the end there was some stringing
IMG_20250306_175648.jpgIMG_20250306_175703.jpg
i then tested the new roll, after drying it, but my supplier changed the material, normaly i buy "natural" pla, because it has no color that burns and clogs the nozzle, but they added white color to this new spool :(
IMG_20250309_184940.jpg
 
Last edited:
its always the same sides falling of, and i dont want to glue them on, maybe i need later to have excess to the inside, so i started glueing on some magnet, one goes on the part and one on the inside of the hull structure
IMG_20250402_233452.jpgIMG_20250402_233508.jpgIMG_20250402_234307.jpg
in a perfect world i would have used the peg and holes, but i could find small screws and the small magent were to weak, that why i need to do this

this thing is "flying" in the air, but its holding great
IMG_20250403_000037.jpg
i saw some blurry pictures of this area, someone has this clr/clean? so i can see what parts deagostini forgot/missing on the kit?
IMG_20250403_003721.jpgblurry.png
 
Back
Top